Tune Up: Placing Your Microphones
posted in: Features • Reviews & Playlists
 Microphone placement is one of the most complicated and technically difficult tasks in recording/live sound. Ironically, it is also one of those things that people think they’re doing right without actually having looked into the proper techniques. The topic is broad and is obviously different for every application, so in this article we’ll focus on only two kinds of placement: acoustic guitar and vocals.
Acoustic Guitar
You may recall our recent post about acoustic guitar pickups; microphone placement is a completely different ballgame. Say your best guitar doesn’t have a pickup or, even if it did, it probably sounds better acoustic rather than direct in. So, capturing that full rich sound is often really tough. Let’s first talk about where to place the microphone when only using one. As a rule, the most bass sound comes from the sound hole area and the most treble sound comes from around the 10th“12th fret area. So, guitar is often recorded just over the 12th fret. Sometimes though, you may want a little more bass, so try and gauge your placement to taste. It can be helpful to listen to someone playing the guitar and actually move the microphone gradually until you hear the sound you like.
If you intend to create a stereo track, there are a few other ways to do it. One technique is to leave one mic in the same place as if you were recording mono (see above) and to place the other mic the same distance from the strings down by the bridge of the guitar. However, you often get better results by placing two mics near the 12th fret (i.e., one pointing at the 14th and one pointing at the 10th). Again, be sure you do some gradual movements and place the mic’s where the guitar sounds the fullest and most realistic.
 Vocals
Almost as tough as effectively recording an acoustic guitar, capturing a vocal take is more complicated than it sounds at first. It is quite rare to record vocals in a pop, rock or hip-hop song in stereo, so we’ll focus on mono microphone techniques. For live settings, you’re probably familiar with the popular Shure SM57 microphone being sung into directly in front of the mouth. This is the most popular (and arguably most effective) live vocal placement. Keep in mind that many backup vocalists stand further back from these mic’s to create a more-distant, blending backup sound.
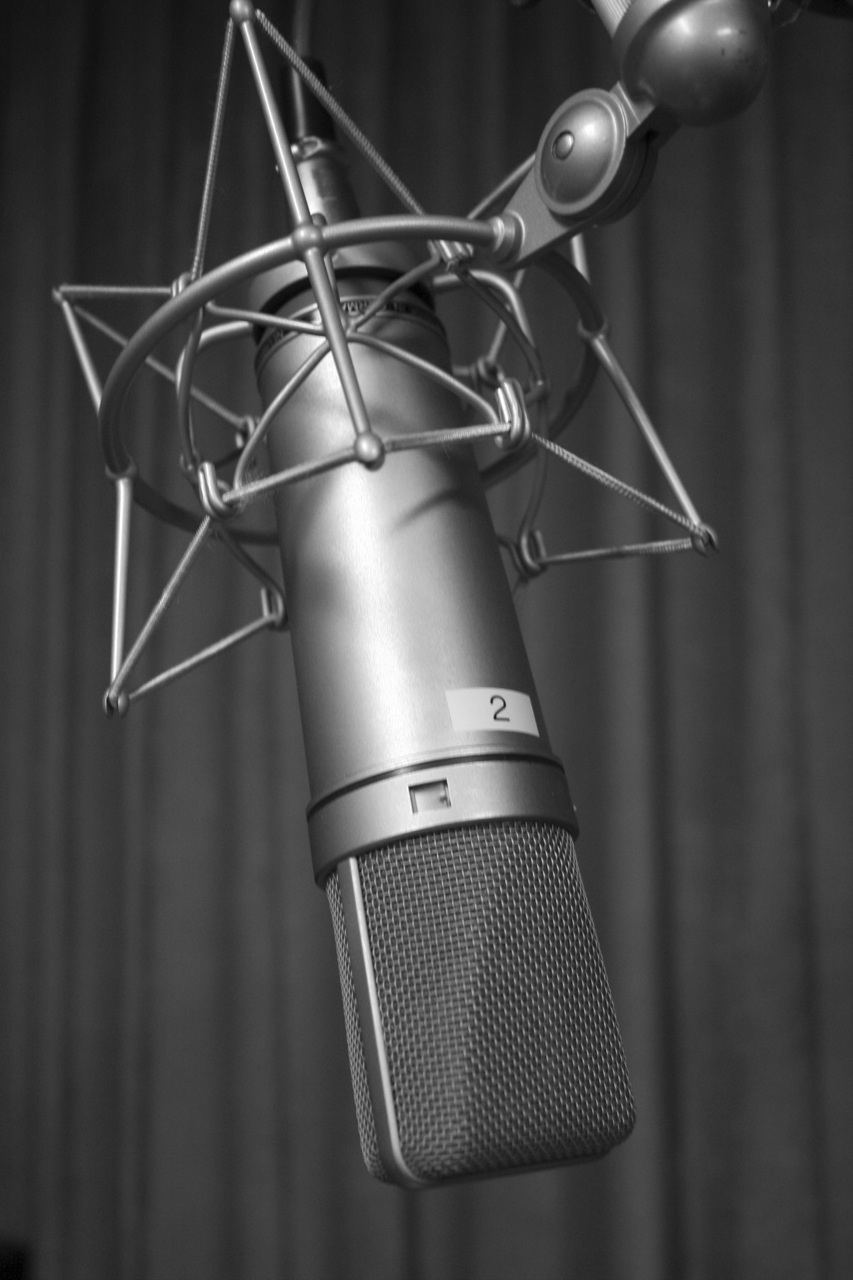
Where things can really get creative is in the studio setting. Most engineers have a good collection of large diaphragm condenser microphones that they use for different vocalists and different applications. Placement, however, is certainly not an exact science here. Most often, you’ll find a microphone placed directly in front of a singer, a few inches from their mouth. This will create a clean, full sound and, if a pop filter is used, won’t have many unwanted artifacts. However, based on the vocal style, you can place the mic further away or even off-axis. Another popular placement is about 7“8 inches from the face at forehead level, pointing down toward the mouth. This will give the singer the ability to sing louder and with more emotion without a lot of artifacts or the strong possibility of clipping.
Microphone placement is something that has been studied by physicists and sound engineers for years. It can be way more complicated than the scope of this article (for example, when recording a full orchestra or using non-directional microphones). But for home-studio settings, these are some standard tricks to use when making sure you get the best sound possible. As a closing note, be sure to always use your ears. After all, we can give you all of the statistics and techniques in the world, but when it comes down to it, your goal is to record what sounds the best. So trust your ears and experiment with your placements. You’ll get a better track.
